Once you activate your LifeJourney account there are several options to manage your individual user profile.
1. How to access your profile on the mobile app
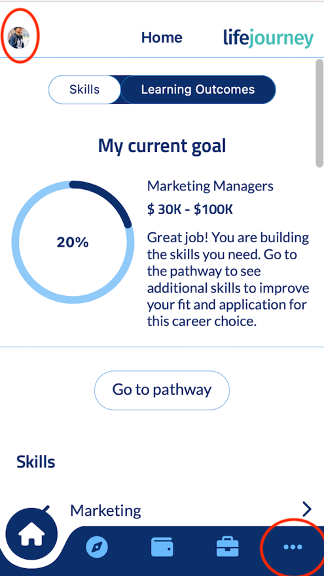
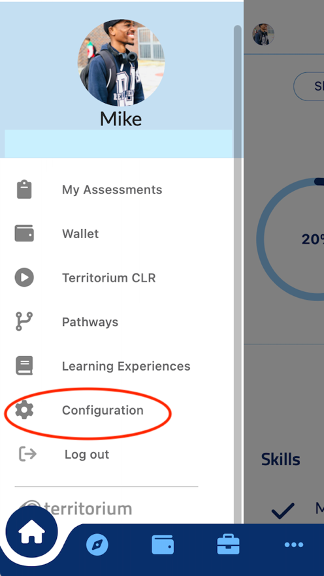
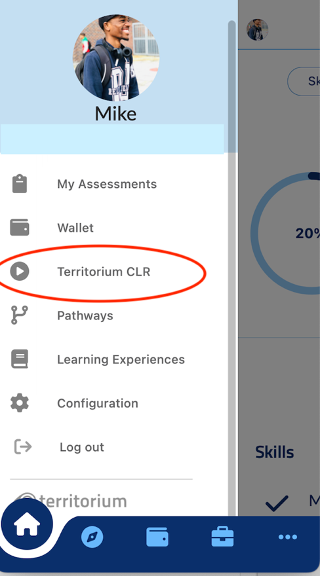
From the mobile application, you can access your profile from two places. The first is to click on the profile image in the upper left corner of your screen. The second option is to select the icon with the three dots (…) in the bottom right corner of the screen.
Next you will select Configuration indicated by the gear icon.
This can also be accessed here

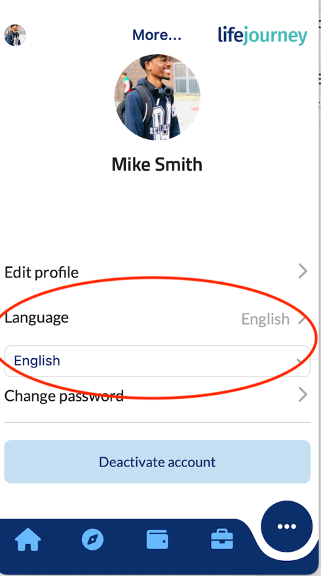
The configuration screen allows you to edit your profile, language, and change your password.
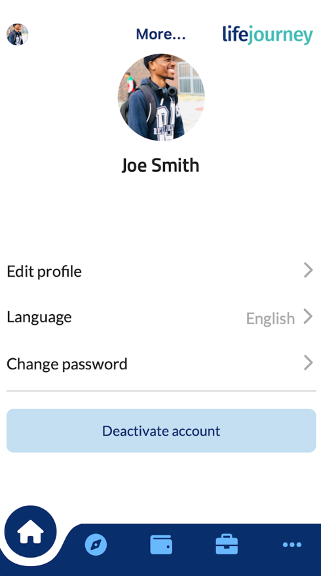
2. Edit your Profile Information
From the configuration screen select Edit profile to to see your contact information. You can edit your last name. If you need other information edited such as your email or student ID, you should contact your administrator. such as your name and email address.
Note: email information is grayed out in this example for user privacy.
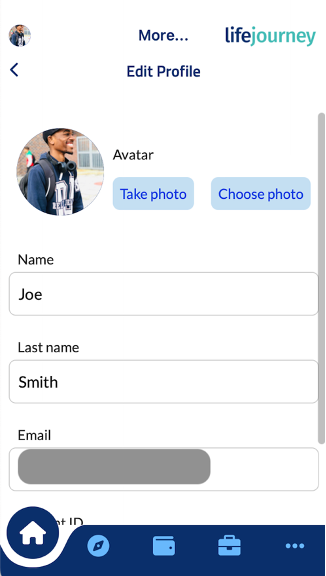
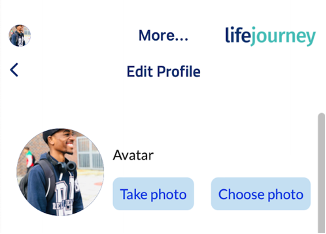
2.1 Updating your profile image
On the Edit Profile screen, you can also change your profile picture. As in the set up process, You can use the application to Take a Photo using the camera on your phone or you can select Choose photo to upload one from your photo albums. When your selection is done, click Save.
2.2 Update your personal information
The Edit profile screen allows you to edit your name, email address and student ID. We do not recommend that you update this information unless there is a significant issue such as a name change.
Be careful when editing your email address. Your institution needs to make sure you have the correct email associated with their records. In addition, if your account was created from the Learning Management System that your campus uses, editing this information may cause conflicts and issues with your account.
WARNING: Do not edit your student ID that is available on this screen. This is a number set by your institution and links to important records about your enrollment.
3. Language
From the configuration screen you can also edit your Language. Currently, English and Spanish are supported in the LifeJourney mobile application. If you change your language, the mobile application user interface default language will change.
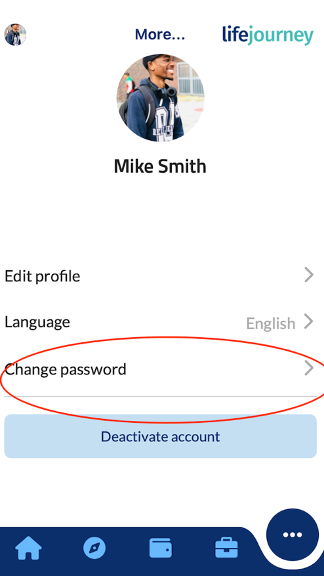
4. Change Password
From the Configuration screen you can also select Change password to update the password that you use to login.
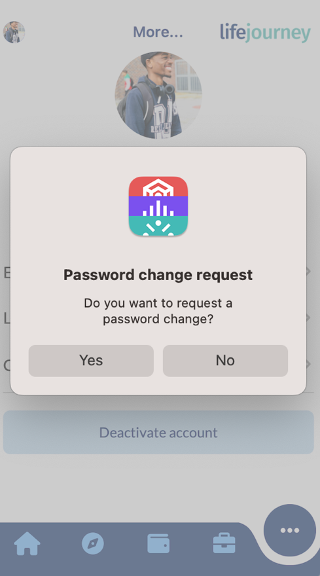
After you select the Change Password option your application should prompt you with the warning to ensure that you want to process. Make sure to follow the prompts to enter a new password.
5. Deactivate account
The Configuration screen also allows you to Deactivate your account. If you select to deactivate your account it is non recoverable and you will lose access to all of your information in the application including badges. We do not recommend that you select this option. If you have specific concerns about your account, please contact Customer Support.
6. Add an institution
One additional important feature related to your profile concerns connecting your account to multiple institutions. You likely received access to LifeJourney from one sponsoring institution. However, as you use the application you may also be able to access other educational institutions if you go to more than one school or get access from employers or other educational providers that also use Territorium.
To add a new institution to your account, you do not need to go through the set up process again.
Go back to the Profile Menu by clicking on the profile image. Select the Territorium CLR menu item.
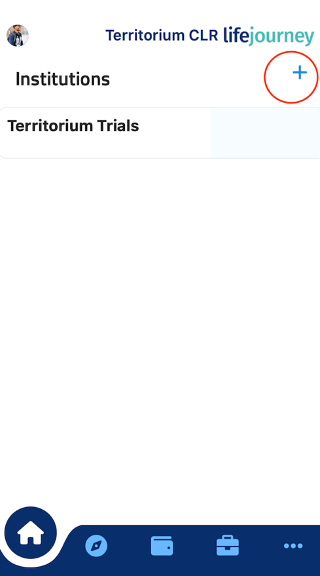
This screen will list exactly what institutions you have access to. If another institution gives you access, you will receive a welcome email with an activation code.
Click the + sign
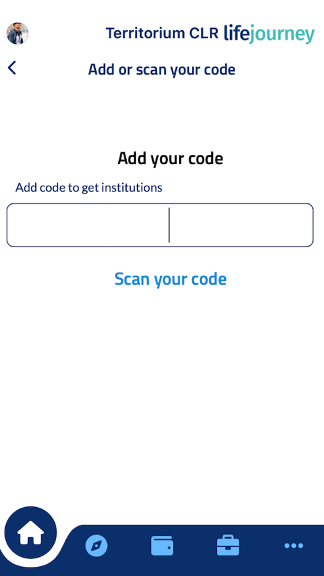
Enter the activation code on the next screen. When this is completed, the application should confirm that a new CLR was connected and you should see the new institution in your list of CLR options.
As you get Learning Outcome assignments from multiple institutions you should not need to toggle between these. You can simply use the application normally, adding more institutions as you get invitations from new educational providers.